Featured image:
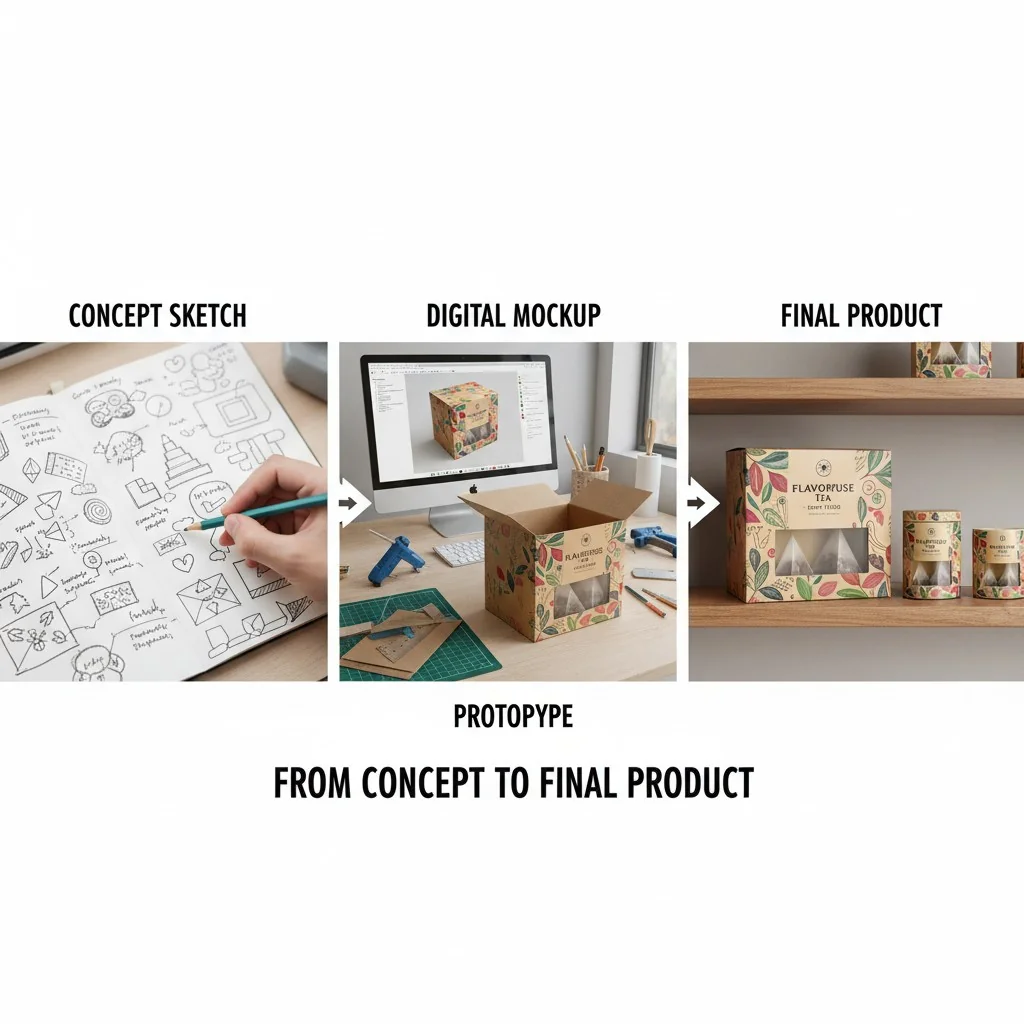
Your package design looks great on screen, but turning it into a physical product is daunting. Wrong steps lead to costly errors. Let's map out the prototyping process together.
To take your package from concept to final product, you need a clear prototyping strategy. This involves selecting the right machinery for mockups, choosing appropriate materials, evaluating visual appeal, and rigorously testing functionality. This process validates your design before committing to expensive mass production tooling.
I've seen many designers like Jacky struggle with this exact jump. They have a brilliant CAD model, but the real-world execution is where things get tricky. It's a common hurdle. In my years running a mold and CNC company, I learned that a solid prototyping plan is the bridge between a digital file and a successful product on the shelf. It's not just about making a single sample; it's about asking the right questions at each stage to avoid major headaches later. Let's break down those questions one by one to build that bridge for your project.
3D printing is always the cheapest and fastest method for all types of package prototypes.False
While often fast for simple forms, for high-fidelity prototypes requiring specific material properties or finishes, methods like CNC machining or vacuum forming can be more effective and sometimes more cost-efficient.
Prototyping can reduce overall project costs by identifying design flaws early.True
According to industry studies, fixing a design flaw in the production phase can cost up to 100 times more than fixing it during the design and prototyping phase.
What Machinery Do You Need for Package Prototyping?
Unsure which machine to use for your prototype? A wrong choice wastes time and money, giving you a sample that doesn't reflect the final product. Let's match the right machine to your needs.
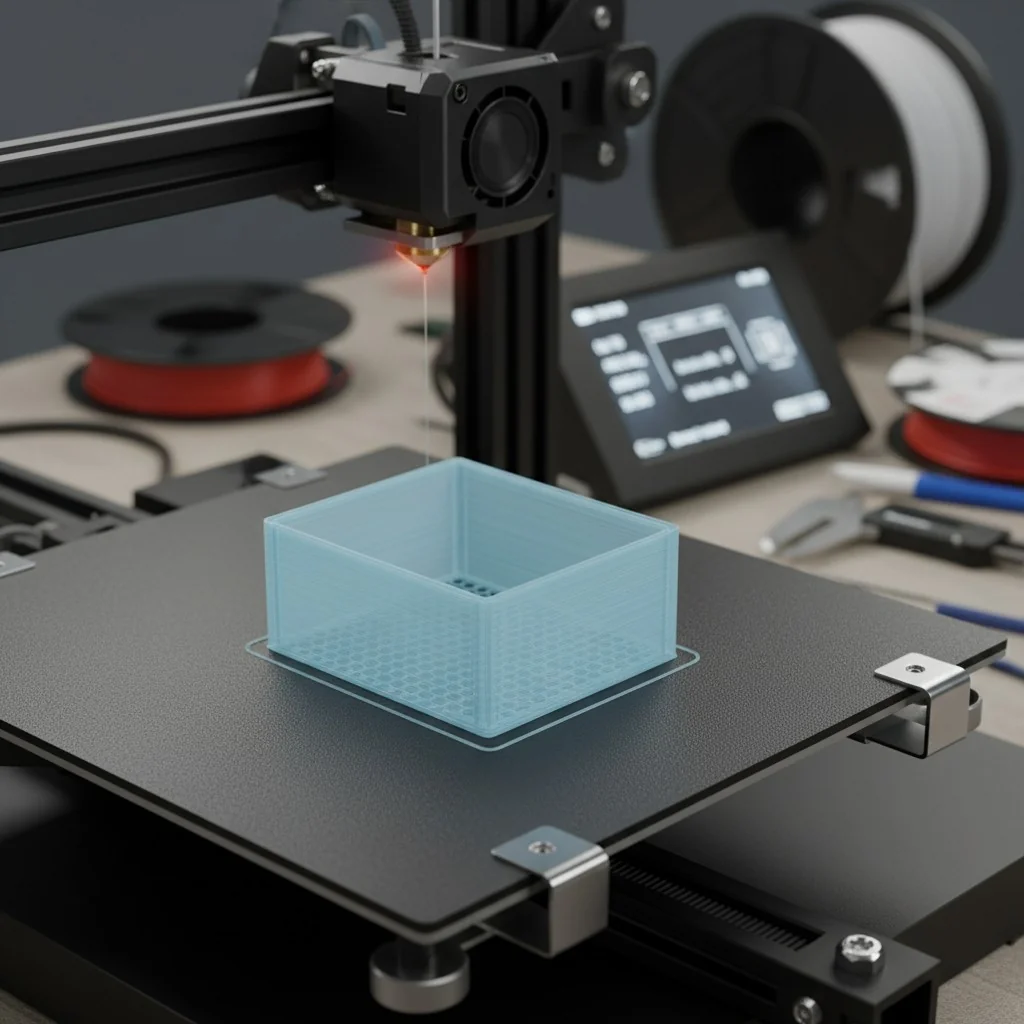
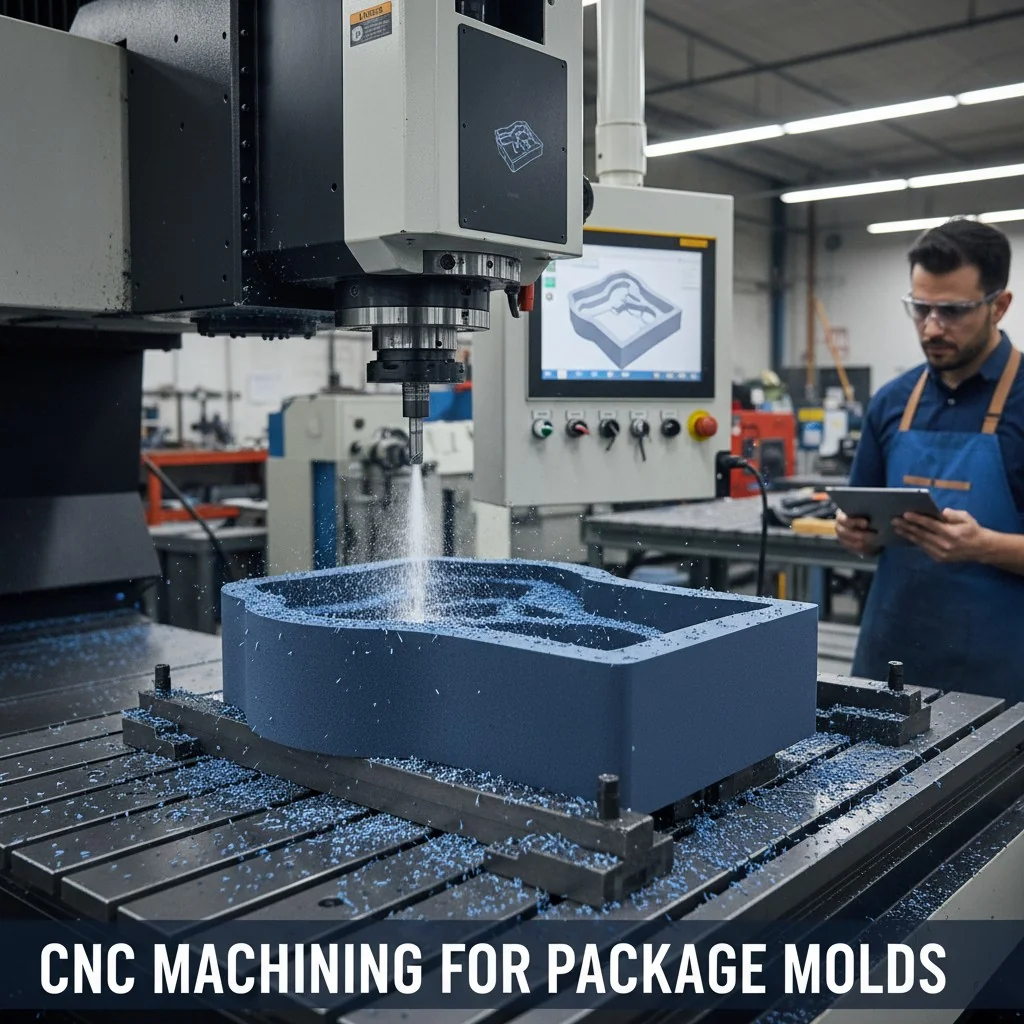
The machinery depends on your prototype's purpose. For early visual models, a simple 3D printer (FDM or SLA) is great. For functional prototypes that need strength and precision, CNC machining is better. For thin-walled packaging like blister packs, vacuum forming is the standard choice.
I'll break down the machinery based on the prototype's goal. When I first started, I thought one machine could do it all. I quickly learned that was a costly mistake. You need to match the tool to the job.
Visual Prototypes (Looks-Like Models)
These are for checking the shape, size, and general feel. The goal is aesthetics, not function.
- 3D Printing (FDM/SLA): This is your go-to for speed and low cost. Fused Deposition Modeling (FDM) is cheap and fast for rough shapes. Stereolithography (SLA) gives you a much smoother surface finish, which is better for presentations.
Functional Prototypes (Works-Like Models)
Here, you need to test how the package works. Does the lid snap on correctly? Can it hold the product's weight?
- CNC Machining: This is perfect for creating strong, precise prototypes from materials like aluminum or production-grade plastics (ABS, PC). It simulates the final part's properties very well.
- Vacuum Forming: For creating thin plastic packaging like trays or clamshells, this is the industry standard. It involves heating a plastic sheet and forming it over a mold.
| Machine Type | Best For | Key Advantage | Common Use Case |
|---|---|---|---|
| 3D Printer (FDM) | Early-stage visual mockups | Speed and low cost | Checking basic form and size |
| 3D Printer (SLA) | High-fidelity visual models | Smooth surface finish | Client presentations, marketing photos |
| CNC Machining | Functional, durable prototypes | High precision, uses final materials | Testing snap-fits, hinges, durability |
| Vacuum Forming | Thin-walled packaging | Mimics mass production process | Creating blister packs and trays |
Choosing the right machine early on saves you from redesigning later. A client of mine once 3D printed a "functional" prototype for a snap-fit container. It kept breaking. We switched to a CNC-machined prototype from the actual production plastic, and it worked perfectly. The initial 3D print just couldn't replicate the material's flex.
SLA 3D printing generally produces a smoother surface finish than FDM 3D printing.True
SLA (Stereolithography) cures liquid resin with a laser, creating layers as thin as 25 microns, resulting in a much smoother finish compared to FDM (Fused Deposition Modeling), which extrudes melted plastic layer by layer.
CNC machining can only be used with metals.False
CNC machines are versatile and can cut a wide range of materials, including various plastics (like ABS, Polycarbonate, and Nylon), wood, foam, and composites, in addition to metals like aluminum and steel.
How Can You Ensure Your Prototype Accurately Represents the Final Look?
Your prototype looks nothing like your design render. The color and texture are wrong, making it look cheap. Let's ensure your prototype accurately reflects your vision and impresses stakeholders.
To ensure an accurate look, focus on three areas: material, color, and finish. Use high-fidelity prototyping methods like SLA 3D printing or CNC machining. Specify exact color codes (like Pantone) and apply post-processing techniques like sanding, painting, or texturing to mimic the final product's surface.

Getting the look right is critical. I remember presenting a prototype once where the color was just slightly off. The client fixated on it, and it derailed the whole meeting. From that day on, I made visual fidelity a top priority. It's about managing perceptions.
Achieving Color Accuracy
Don't just say "blue." You need to be specific.
- Pantone Matching: Use a Pantone color code. Your prototype provider can then create custom-mixed paint to match it exactly. This is the professional standard.
- Masterbatches: For plastic prototypes, you can sometimes get small batches of plastic pellets (masterbatch) mixed to your exact color specification and then use that in a small injection molding run for the prototype.
Replicating Surface Finish and Texture
The feel of the package is as important as its color.
- Post-Processing: This is where the magic happens. A raw 3D print can be sanded, filled with primer, and painted to achieve a glossy, matte, or satin finish.
- Texture Application: You can mimic textures like leather, wood grain, or geometric patterns. This can be done by applying textured paints or, for higher fidelity, by etching the texture directly into the prototype mold.
| Visual Aspect | Method | Why It's Important |
|---|---|---|
| Color | Pantone Matching System (PMS) | Provides a universal standard for color, ensuring consistency. |
| Gloss/Matte | Painting & Clear Coats | Controls how light reflects off the surface, affecting perceived quality. |
| Texture | Mold-Tech Texturing, Post-Process Application | Adds tactile feel and visual depth, can hide imperfections. |
A "looks-like" prototype should be indistinguishable from the final product at a glance. It's your best sales tool before you've spent a dime on production tooling.
The color of a raw 3D print will always match the final injection-molded part.False
3D printing filaments and injection molding plastics have different base materials and colorant processes. To achieve a true color match, the prototype usually requires painting with a specified color code (e.g., Pantone).
Surface texture can be chemically etched onto steel molds for mass production.True
Acid etching is a common industrial process used to create precise, repeatable textures on the surface of steel injection molds. Companies like Mold-Tech specialize in these standardized textures.
How Do You Choose the Right Materials for Your Package Prototype?
Picking a prototype material feels like a guess. Will it be strong enough? The wrong choice means a failed test or a product that breaks. Let's choose the right material together.
Choose materials by first defining the prototype's goal. For visual models, any rigid material from a 3D printer works. For functional tests, use a material that closely mimics your final production plastic, like CNC-machined ABS, PC, or PP, to accurately test for strength and flexibility.
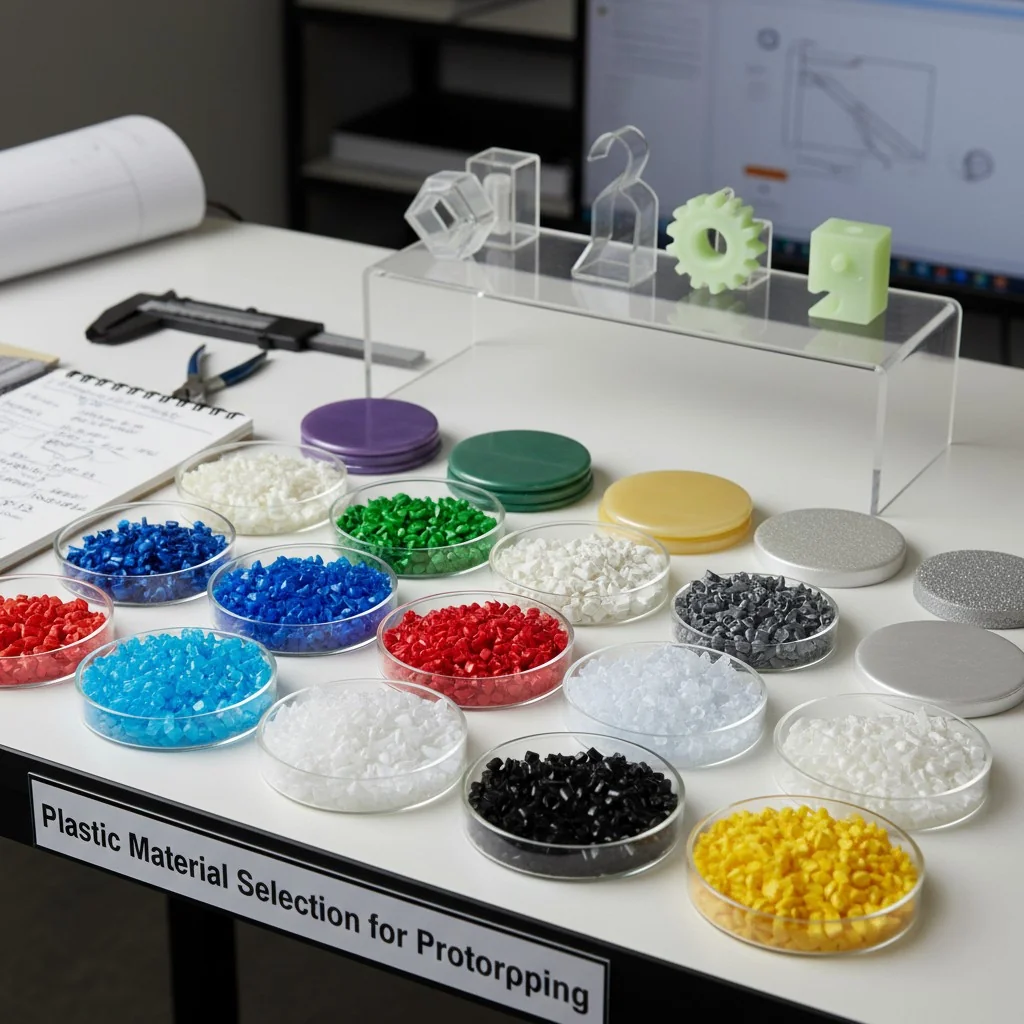
Material selection was a huge learning curve for me. In the factory, I saw how a simple switch from ABS to Polypropylene (PP) could completely change a product's feel and function. For prototyping, the goal is to learn as much as possible before committing to an expensive mold.
Material Selection for Different Prototype Types
Your choice depends on what you're testing.
- Visual Prototypes: Here, the material doesn't need to be strong, just easy to work with. PLA or resin for 3D printing is perfect. It's all about the look, so the material itself is less important than the finish you apply to it.
- Functional Prototypes: This is where material choice is critical. You need to simulate the end-use properties. If your final part is injection-molded PP, a 3D-printed PLA prototype won't tell you if a living hinge will work. You need to use a material with similar properties.
| Material | Common Prototyping Method | Simulates Production Material | Key Property |
|---|---|---|---|
| PLA/SLA Resin | 3D Printing | N/A (Visuals only) | Rigidity, good for form/fit |
| ABS | CNC Machining, FDM 3D Printing | ABS | Good impact strength, toughness |
| Polycarbonate (PC) | CNC Machining | Polycarbonate (PC) | High strength, transparency |
| Polypropylene (PP) | CNC Machining, Prototype Molding | Polypropylene (PP) | Excellent flexibility, chemical resistance |
I always advise clients like Jacky to get a block of the intended production material and CNC machine the prototype. It costs more than a simple 3D print, but the data you get on fit, function, and durability is invaluable. It's the closest you can get to the real thing without building a production mold.
Polypropylene (PP) is often chosen for applications requiring a living hinge due to its high fatigue resistance.True
PP can be bent repeatedly without breaking, making it the ideal material for parts with integrated hinges, such as flip-top caps on bottles and containers.
All 3D printing materials are food-safe.False
Most standard 3D printing materials like PLA and ABS are not inherently food-safe. Food-safe grades require specific certifications and often a special coating to seal the porous, layer-based surface, which can harbor bacteria.
How Do You Test a Prototype for Function and Versatility?
Your prototype looks great, but does it work? A package that's hard to open or fails to protect the product can ruin your launch. Let's create a testing plan to validate its function.
Test function by simulating real-world use. Perform drop tests to check durability, assembly tests to ensure it fits the product, and user tests to evaluate the opening/closing experience. For versatility, test the package with all product variations (if any) to ensure a universal fit.
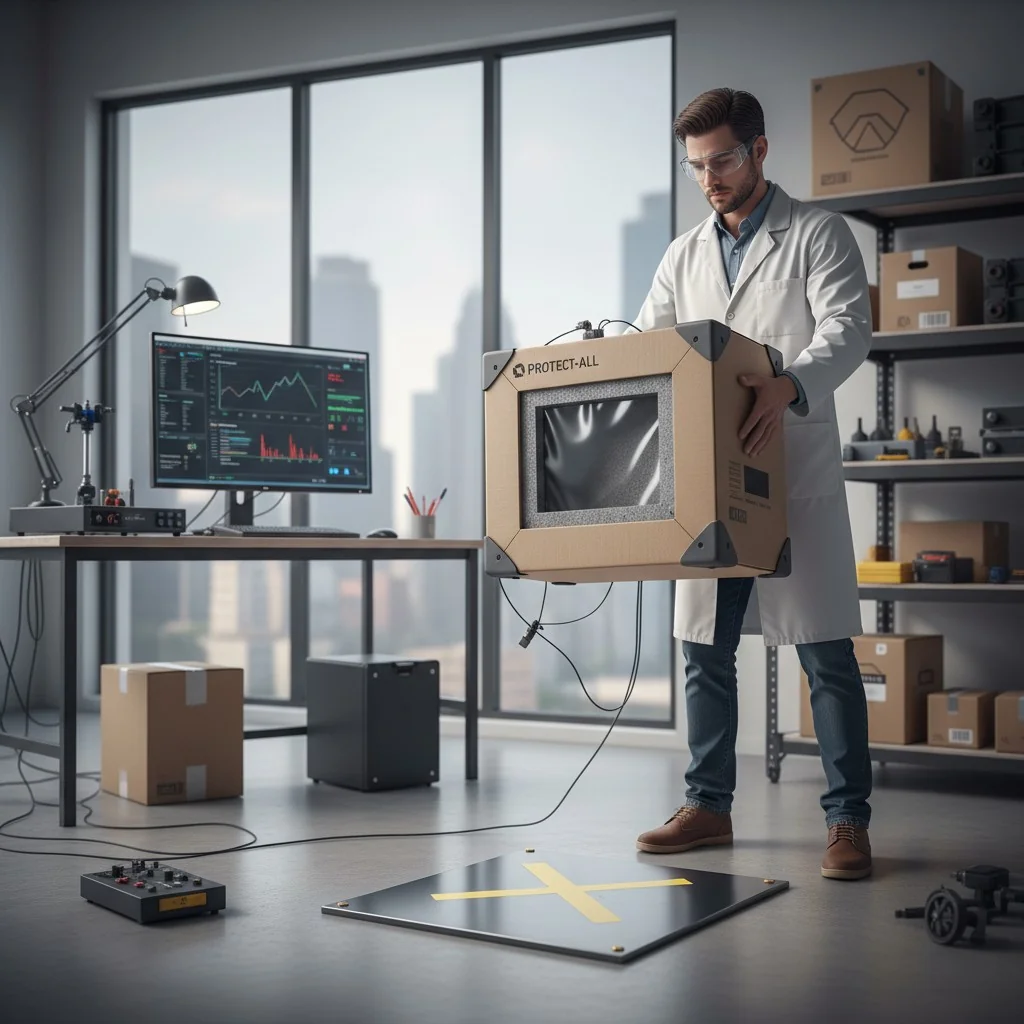
Function testing is where you separate a good design from a great one. I've seen beautiful packages fail because nobody actually tried to use them until it was too late. You have to be your own harshest critic.
Key Functional Tests
Create a checklist and be methodical.
- Assembly Test: Does your product fit inside the package perfectly? Are the tolerances correct? Try assembling it 10 times. Are there any issues?
- Durability & Drop Test: This is non-negotiable. Drop the packaged product from various heights and angles to simulate shipping and handling. Does the package or the product inside break?
- User Experience (UX) Test: Give the prototype to people who have never seen it before. Watch them open and close it. Is it intuitive? Do they struggle? This is how you find "wrap rage" issues before your customers do.
Testing for Versatility
If your package is designed to hold multiple versions of a product, you must test them all.
| Test Type | Question to Answer | Success Metric |
|---|---|---|
| Drop Test | Does it protect the product from impact? | Product remains undamaged after specified drops. |
| Fit Test | Does the product fit securely without rattling? | Product is snug; no movement or damage from vibration. |
| UX Test | Can a user easily open and close it? | Intuitive process, no excessive force or tools needed. |
| Versatility Test | Does it work for all intended product SKUs? | All product variations fit and are secured properly. |
A client once designed a package for a new electronic device. The prototype passed all drop and fit tests. But in user testing, we found that people couldn't figure out how to open the latch without breaking a nail. A simple design tweak to the latch, found during prototyping, saved them from thousands of customer complaints.
A successful drop test from one height guarantees the package is safe for all shipping conditions.False
Shipping involves a combination of impacts, vibrations, and compression. A comprehensive test plan, often following standards from organizations like ISTA (International Safe Transit Association), is needed to properly simulate the entire distribution cycle.
User testing can reveal design flaws that are not apparent to the designer.True
Designers often have 'creator's bias' and know how the product is 'supposed' to work. A fresh user provides an unbiased perspective, quickly identifying confusing or difficult aspects of the design.
Who Is the Best Partner to Help You with Package Prototyping?
You need a prototype but don't know who to trust. The wrong partner means poor quality, missed deadlines, and endless frustration. Let's find you a partner with the right expertise.
The best partner is a full-service prototyping and manufacturing company. They should have multiple technologies (3D printing, CNC, molding), offer design for manufacturability (DFM) feedback, and have a proven track record. This provides a one-stop solution from prototype to production.
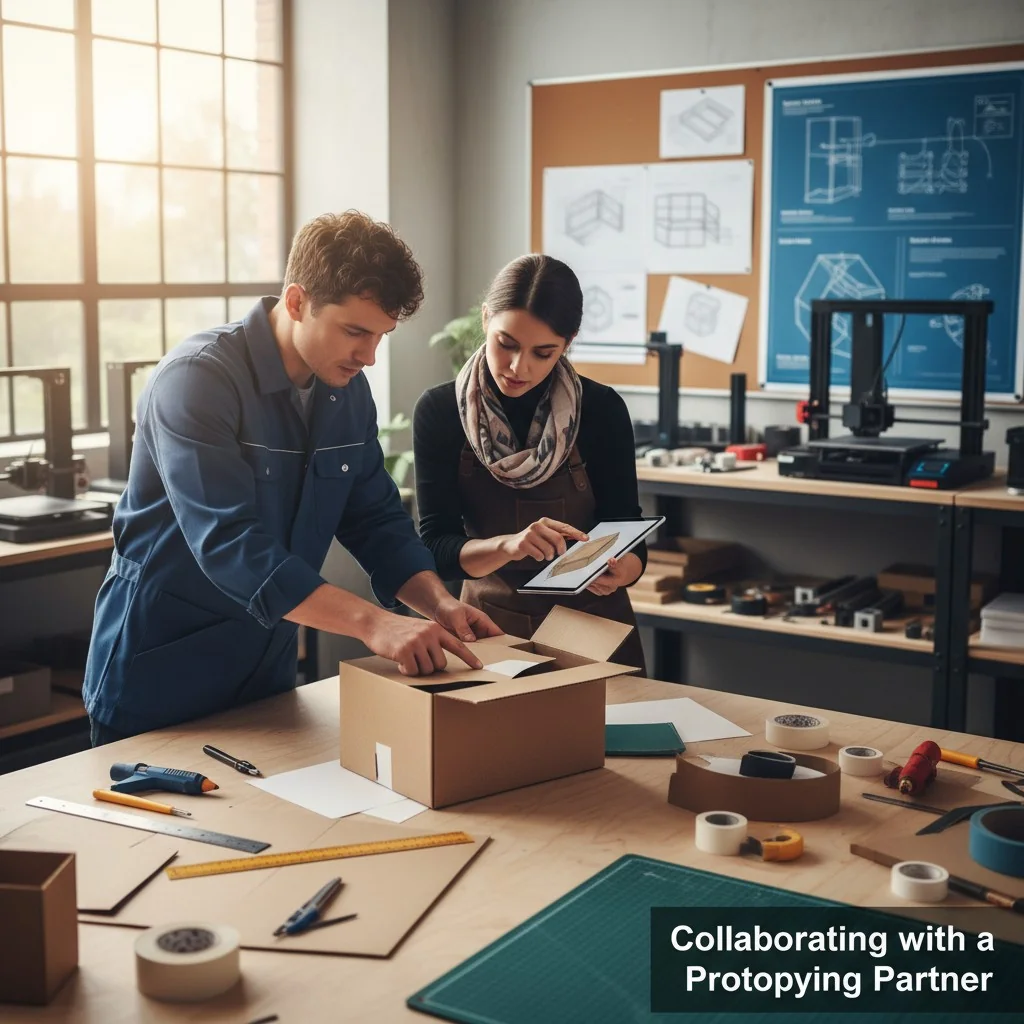
Finding the right partner is everything. When I started my trading company, my success was built on being a reliable partner for my clients. A good partner isn't just a supplier; they are an extension of your team.
What to Look For in a Prototyping Partner
Don't just look at the price. Look for value.
- Technical Capability: Do they have the right machines and skills? A partner with both 3D printing and CNC machining can offer the best solution for each stage, rather than pushing the only service they have.
- DFM Expertise: A great partner will provide Design for Manufacturability (DFM) feedback. They will look at your design and suggest changes to make it cheaper and easier to mass-produce. This advice is priceless.
- Clear Communication: They should be responsive, speak your language, and provide regular updates. Miscommunication is a project killer.
Types of Partners
| Partner Type | Pros | Cons |
|---|---|---|
| Freelancer | Low cost, flexible | Limited capabilities, potential reliability issues. |
| Local Machine Shop | Good communication, fast turnaround | Higher cost, may lack specialized packaging knowledge. |
| Full-Service Firm | One-stop shop (design, proto, production), DFM expertise | Can be more expensive, requires vetting. |
I always tell people to find a partner who is interested in their success, not just the current job. Ask them for DFM feedback on your design. Their answer will tell you everything you need to know. A good partner will immediately start talking about draft angles, wall thickness, and material choices for injection molding. A simple supplier will just give you a quote.
Design for Manufacturability (DFM) analysis can significantly reduce the cost of a production mold.True
DFM feedback helps eliminate complex features like undercuts, specifies correct draft angles, and ensures uniform wall thickness, all of which simplify mold construction and reduce machining time, directly lowering costs.
The cheapest prototyping quote will always result in the lowest total project cost.False
A cheap prototype that is inaccurate or fails to identify design flaws can lead to expensive changes in the production tooling phase. Investing in a high-quality prototype with DFM feedback often results in a lower overall project cost.
Conclusion
A solid prototyping plan transforms your concept into a market-ready product. By asking the right questions, you ensure a successful launch and avoid costly mistakes.
